Web Analytics Made Easy - Statcounter

Changing Out a Deadbolt

02.14.2023 11:45 AM By Kate Shahan

How Do I Document it?

It's winter in Colorado and the I can feel a breezy coming around the door. Home heating prices are climbing, fixing the door is imperative to surviving these crazy times. We tried using the deadbolt on the door to create a tighter seal. Unfortunately, it broke the deadbolt. So now I have to replace the weatherstripping around the door and put in a new deadbolt.

Let's seal the door first

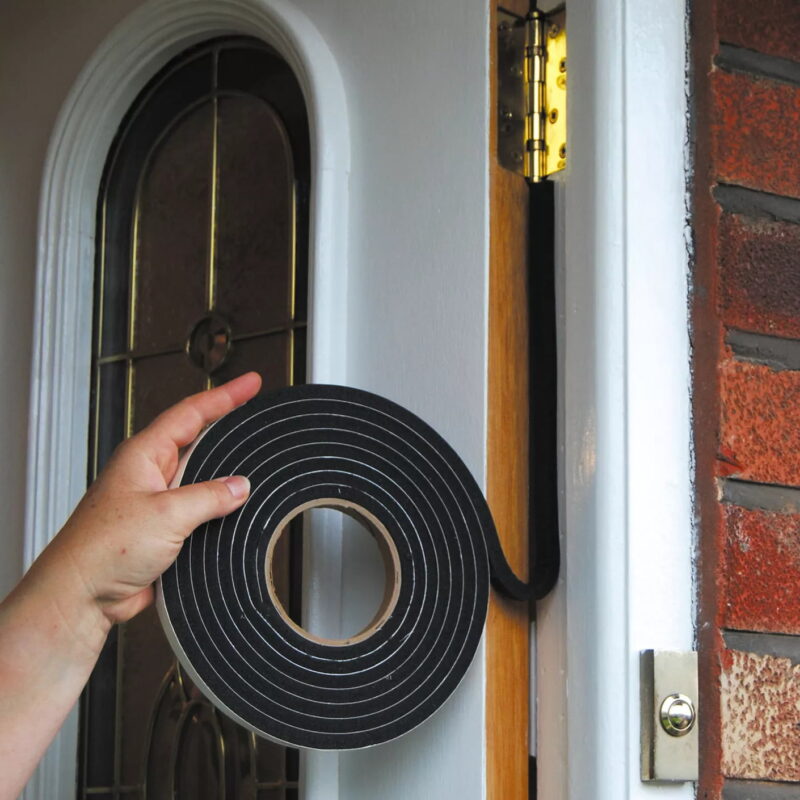
Step 1: Remove old weatherstripping on the exterior of the door. Not all doors have weather stripping already affixed to the exterior of the door. There are different types of stripping. Some are a flexible sticky tape backing, others are firmer and screw into the door frame.


Step 2: Install your new weather stripping. I don't have a preference for firm or flexible weather stripping. Color matching is key to make sure the door continues to look great. For my door, I installed a flexible foam type weatherstripping above the door and on the side with the hinges. Next, I installed the firm weatherstripping on the exterior of the door on the doorknob side and above the door with the door shut. My door needed two sets of stripping because of slight warping from water damage. Ideally, it would be good to replace the door, but the Condo Association is very strict about what can happen to the door.


Step 3: Test your work. Close the door and take a look from the interior. Do you see light coming in around the door? Do you feel a breeze when you run your hand around the perimeter of the door? Adjust the weatherstripping if you need to.

Time for a new deadbolt

Step 1: Remove old deadbolt. There should be two screws on the interior of the door that connects the deadbolt.


Step 2: Check your measurements. Not all deadbolts are the same size (diameter of the hole in your door). Your local home improvement store or online marketplace sells kits that help you increase the diameter of the hole. My door has a metal surface on top of the wood so I had to make sure my drill bit could cut through metal.


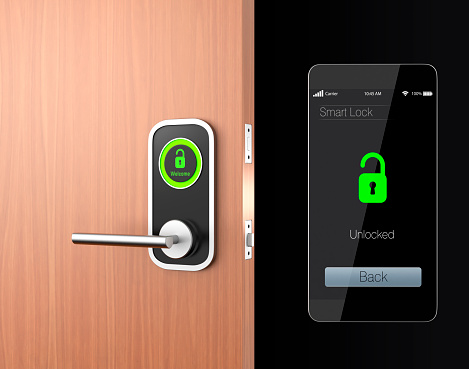
Step 3: Install the new deadbolt. There are three parts to a door lock: interior, exterior and the little piece that goes into the middle. Super professional terms, but it gets the job done! If you are installing a new electronic lock, follow the programming directions carefully.

Add it to Yarlow

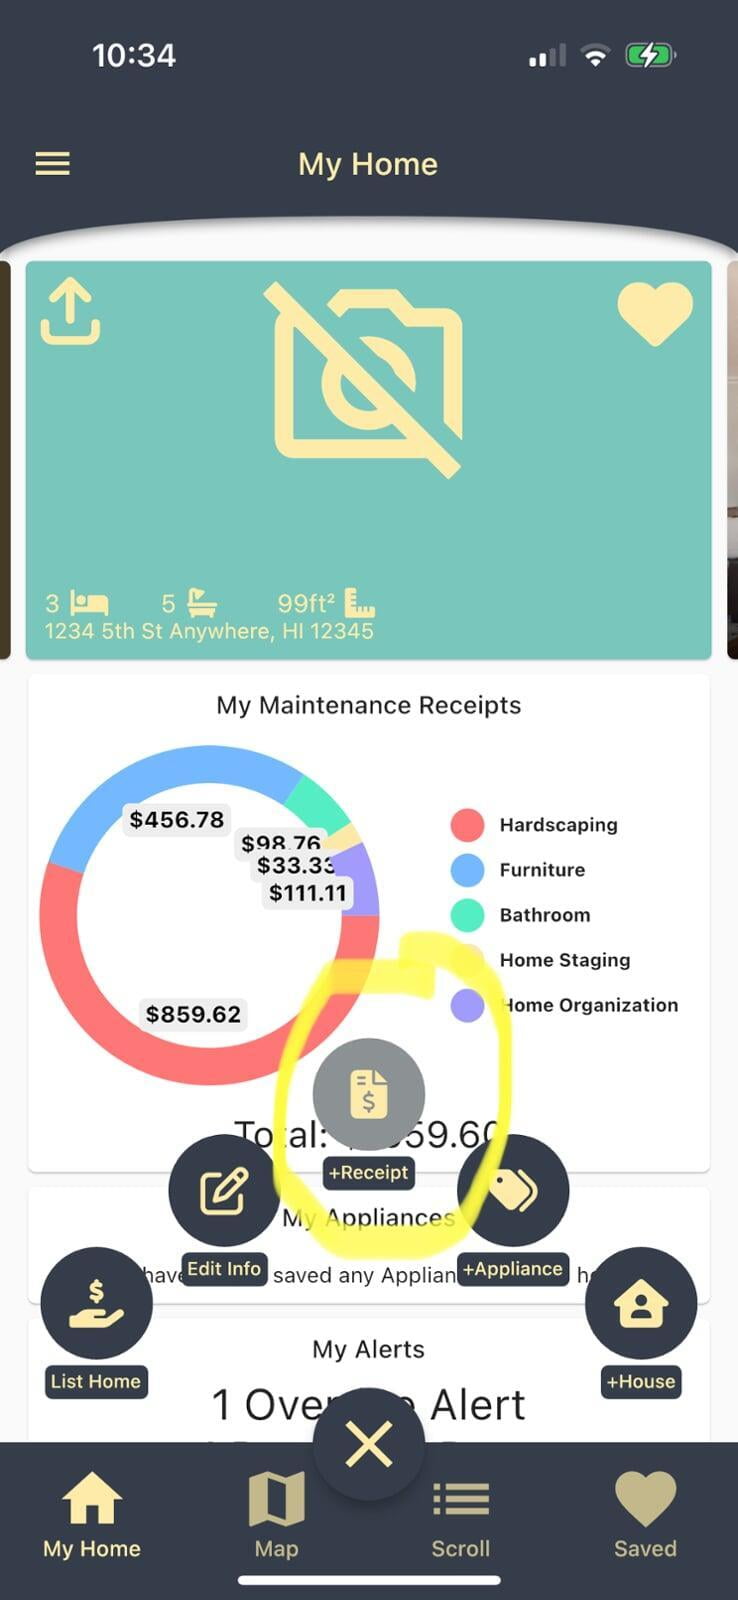
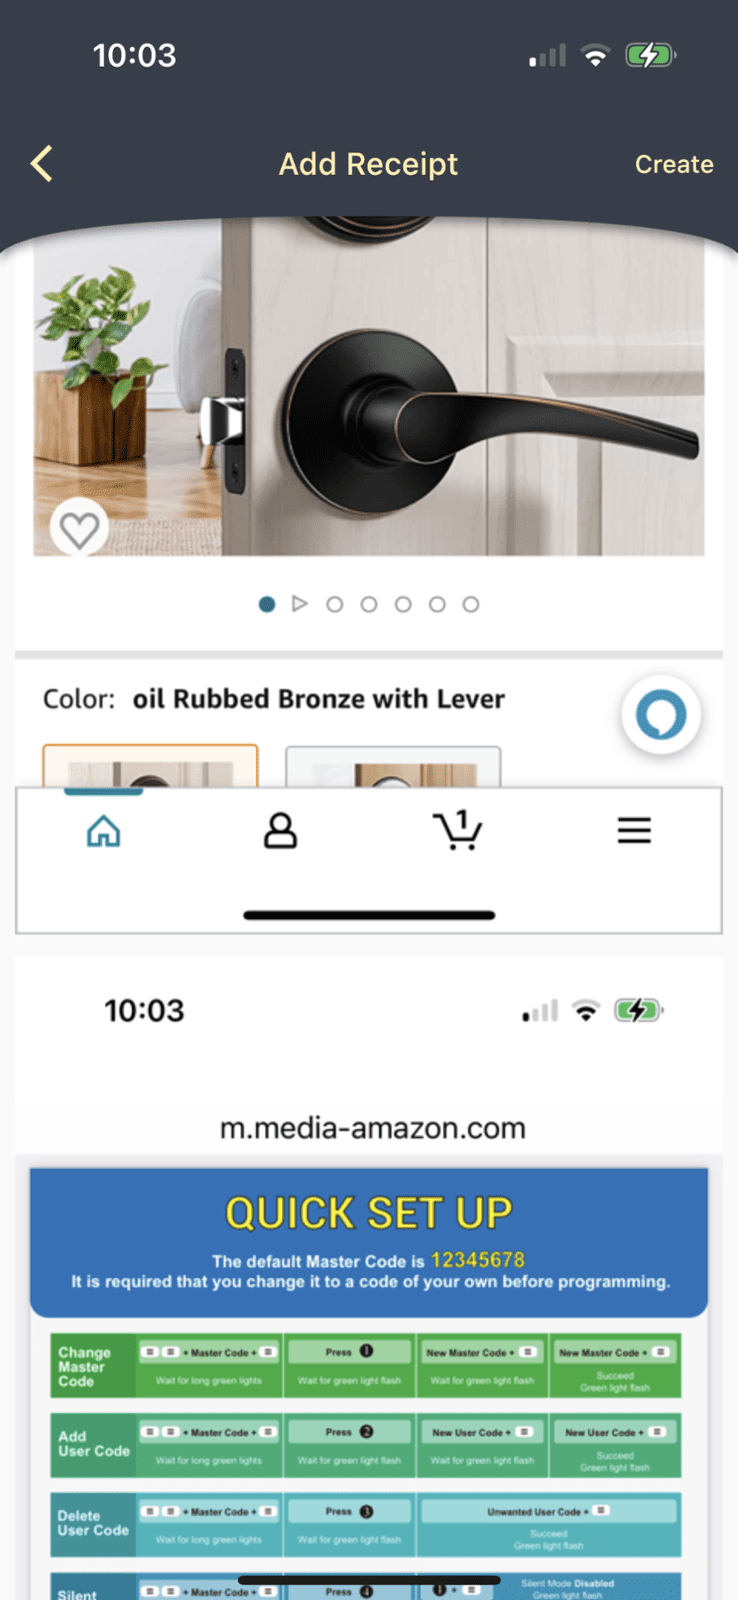
Step 1: Add Receipt. Click on the "+" icon at the bottom of the screen and choose "+Receipts."


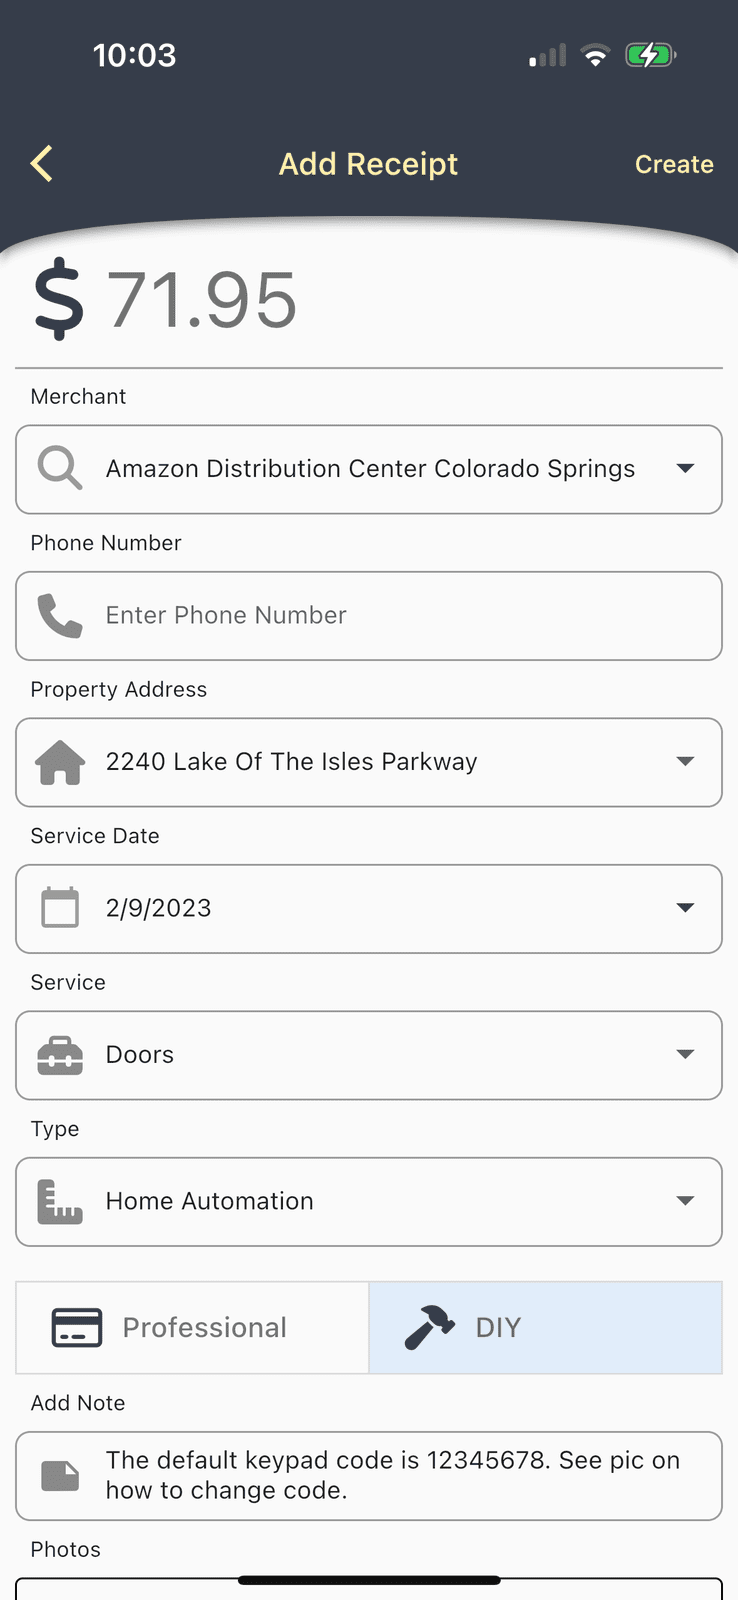
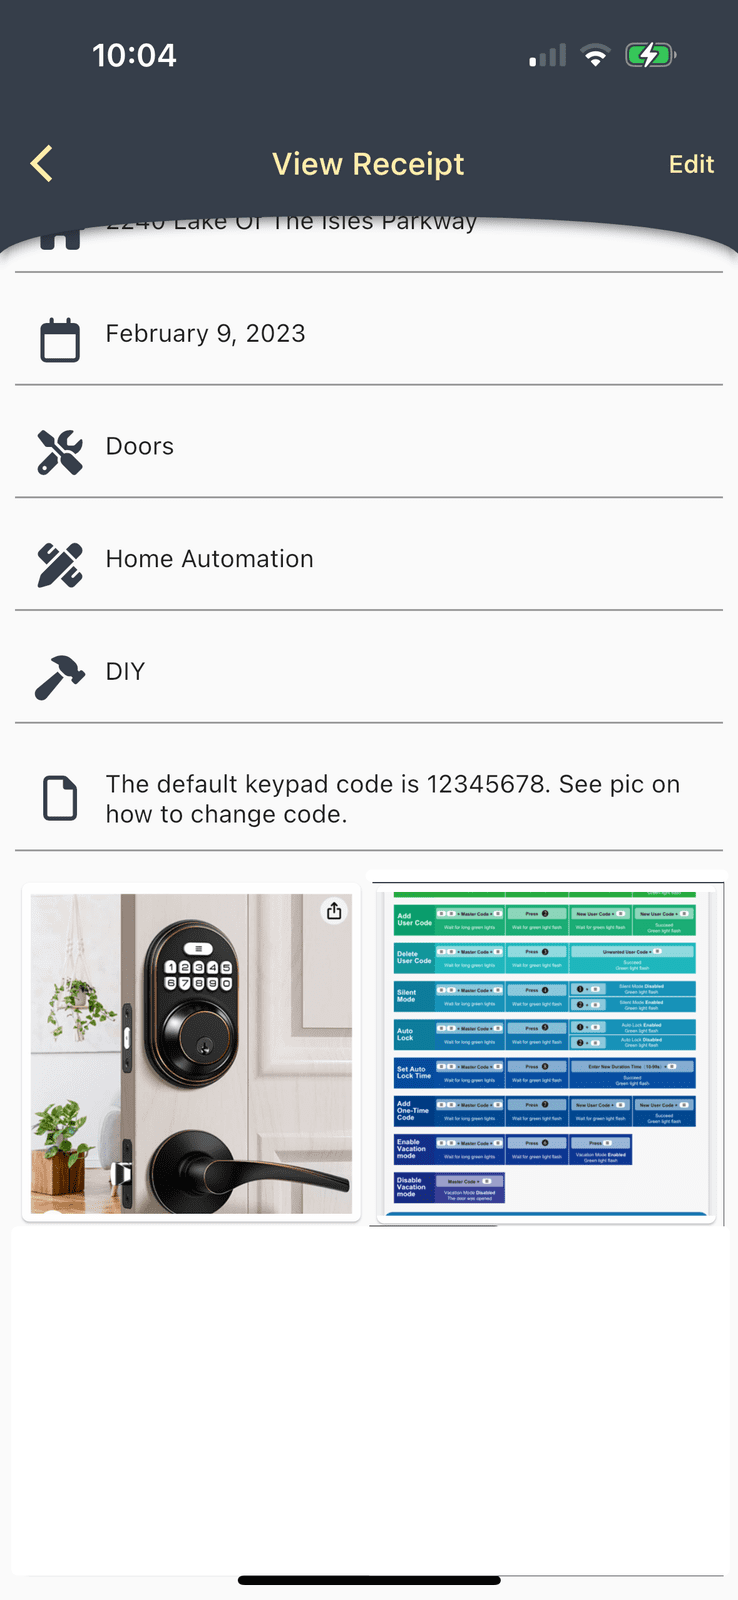
Step 2: Enter the product information. This is where you can decide how much documentation you want. I prefer to keep track of the warranty, code information, and take pictures of the documentation that are relevant. In this example, there is a page that indicates how to change settings on the lock. If you decide to make different codes (one for the kids, one for the service man, one for package delivers, etc), you can keep a list in the notes section.


Step 3: Create. Once you have your notes and pictures in place, click "Create" in the upper right corner of the app.


Now you are on a roll! You will surprisingly find yourself referring to these notes and pictures.

Kate Shahan